Enemy factions by setting
Warhammer Survivors has Tyranids, Orks and Death Guard on its Warhammer 40,000 side, and Skaven, Blades of Khorne and Gloomspite Gitz on its Age of Sigmar side. In the October demo, Imperial Bastion pits you against Tyranids, while The Great Parch pits you against Skaven.
Against those demo factions, target enemies that strengthen the horde and move out of attack lanes early. Tyranid Synapse makes smaller creatures faster and more dangerous, while Skaven specialists add gunfire zones, protective effects and poison clouds.
Faction threats and their battlefields
| Faction | Setting, battlefield and threat |
|---|---|
| Tyranids | Warhammer 40,000. Imperial Bastion is their October-demo stage; Synapse strengthens smaller bioforms, and Von Ryan's Leapers can pounce over the swarm. |
| Orks | Warhammer 40,000. The announced Ork Stronghold includes Ork mobs and Ghazghkull Mag Uruk Thraka. A red screen warns of a Waaagh!, bringing greater enemy numbers and frenzied attackers. |
| Death Guard | Warhammer 40,000. The announced Gallowdark setting uses cramped Space Hulk corridors. Death Guard auras and weapon attacks can poison you, making your route through the fight important. |
| Skaven | Age of Sigmar. The Great Parch is their October-demo stage; expect swarms alongside gunfire hazards, Warded enemies and poisoning globes. |
| Blades of Khorne | Age of Sigmar. The announced Hammerhal setting includes Blades of Khorne pressure. Bloodcrushers use telegraphed charges, giving you an opportunity to move out of their path. |
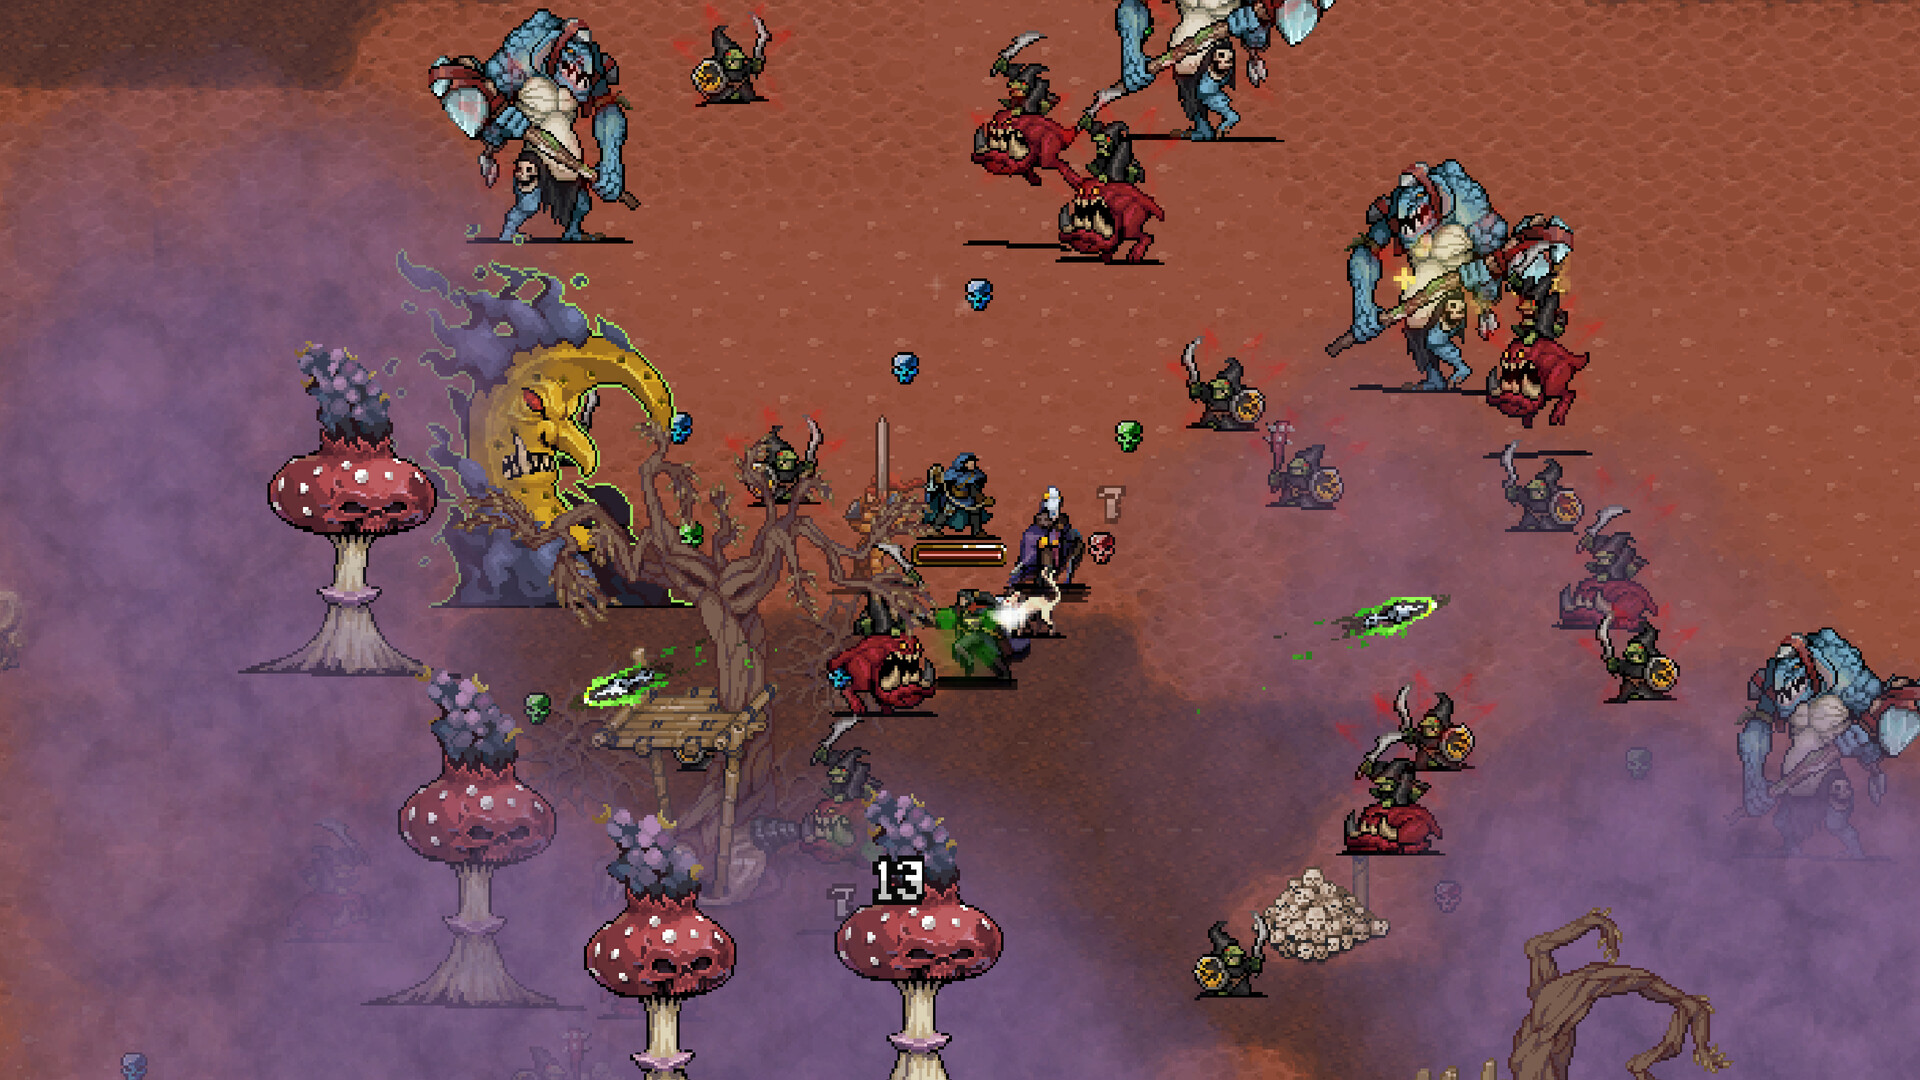
| Gloomspite Gitz | Age of Sigmar. The announced faction includes Squigs and towering Troggoths. |
Imperial Bastion: break Synapse and watch for pounces
Synapse changes which Tyranid you should pursue. Critical bioforms such as the Hive Tyrant give nearby Termagants and Hormagaunts Berserk, increasing their movement speed and damage. Destroying the Synapse creature briefly stuns the nearby lesser bioforms.
Prioritize the Synapse source when you have a safe approach, then use the stun window to clear space. Chasing ordinary creatures while their support remains alive lets the same pressure build around you again.
Von Ryan's Leaper adds a different movement check: it rears up, then can leap over other enemies to reach you. Watch for that animation and keep a sideways exit available rather than relying on the swarm between you and the Leaper.
The Great Parch: leave gunfire and poison lanes
Ratling Gunners travel across the screen while firing, creating damaging zones that can box you in. Move out of the firing lane early, while there is still room to choose where you go. Pursue the gunner when doing so will not carry you into another hazard.
Bell of Doom gives nearby Skaven Warded, making even weak enemies tougher. Treat the Bell as a support threat: break it or reposition away from its protection instead of staying committed to the reinforced crowd.
Acolyte Globadiers throw toxic globes that leave poisonous fumes. Leave the cloud before trying to finish a nearby enemy, and avoid moving into overlapping hazards while escaping gunfire.
Vermintide also crosses the screen in horizontal lines. Look for a gap across the line and change direction to leave its path; simply following the same route as the rats keeps you in their procession.
Choose status effects for the space you need
| Effect or pairing | What it changes and when to use it |
|---|---|
| Nuln Oil with Brazier Staff | Oiled increases follow-up fire damage. Pairing Nuln Oil with Brazier Staff's Burning attacks gives you a practical damage combination against a horde. |
| Poisoned | Damages enemies while slowing them. Favor it when controlling an approaching crowd matters to your movement. |
| Burning | Damages enemies but speeds them up. Keep an escape route available when applying it to a crowd already closing on you. |
| Stunned | Stops movement without necessarily stopping attacks. Use the breathing room to reposition while still respecting nearby attack paths. |
Choose the Nuln Oil and Brazier Staff combination when you want their fire interaction; choose Poisoned when you need help keeping enemies at a distance. Check how much room you have before adding Burning to an already crowded approach.
Keep direct damage available for enemies that resist status effects. The October-demo Norn Emissary on Imperial Bastion resists every status effect inflicted by demo weapons, so a horde-clearing status combination should not be your only boss plan.
Adapt your run as the faction pressure changes
- Identify your stage before choosing a build. In the October demo, prepare for Tyranid Synapse and pounces on Imperial Bastion, or Skaven support enemies and hazard lanes on The Great Parch.
- Locate the enemy strengthening the crowd and approach through open ground. Removing a Synapse creature stuns its nearby dependents; dealing with Bell of Doom reduces the pressure of fighting protected Skaven.
- Move as soon as an attack path threatens your route. Leave a Ratling Gunner's lane, step out of Globadier fumes, and keep space to sidestep a Leaper's pounce.
- Choose your next weapon for the problem in front of you. Use Nuln Oil with Brazier Staff for the Oiled and Burning interaction, or favor Poisoned when slowing the horde helps you escape.
- Prepare for The Great Parch's pressure spike before minute 15. The Plague Furnace arrives alongside a minimum of 250 enemies, so arrive with crowd coverage and a route out of the pack.